
The world runs on WordPress. So do we.
Texavor connects to your self-hosted WordPress (or WP Engine/Kinsta) site via the native REST API. We support "Headless-style" publishing where we inject the content, set the SEO meta, and handle the media library uploads for you.
Features
- Yoast & RankMath Support: We automatically sync your Title/Meta Description to the custom fields used by these plugins.
- Media Library Sync: When you drag an image into Texavor, we upload it to your WordPress Media Library and use the returned URL.
- Categories & Tags: We fetch your existing WP Categories so you can select them from a dropdown.
1. Get Application Password
(Requires WordPress 5.6+)
- Log in to your WordPress Admin.
- Go to Users > Profile.
- Scroll down to Application Passwords.
- Type a name (e.g., "Texavor") and click Add New Application Password.
- Copy the password (it looks like
xxxx xxxx xxxx xxxx).
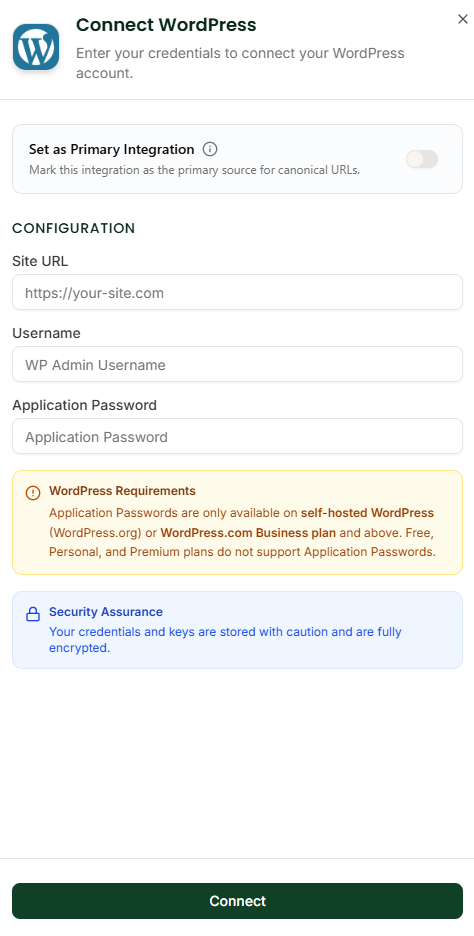
2. Connect in Texavor
- Navigate to Integrations.
- Click Connect on the WordPress card.
- Site URL: Enter your full URL (e.g.,
https://myblog.com). - Username: Your WordPress username (NOT your email).
- App Password: Paste the password you generated.
3. Publishing Workflow
When you click Deploy:
- Select [x] WordPress.
- Categories: Select from the dropdown.
- Status:
- Publish: Live immediately.
- Draft: Saved as a Draft Post.
- Pending: Saved as "Pending Review" (good for editorial workflows).
FAQ
Q: Does it work with Custom Post Types (CPT)?
A: Currently, we write to the standard post type. If you need CPT support (e.g., for a "Books" section), use the Custom Webhook integration instead.
Q: "JSON Error" or "Rest API Disabled"?
A: Some security plugins (like Wordfence) block the REST API. You may need to whitelist the Texavor IP or enable the REST API in your security settings.
Support & Resources
Need help publishing your content strategy?
- 📧 Email Support: hello@texavor.com
- 📚 Documentation: Browse the full guide